
3D Printed Aerospike Rocket Engine: How the Spike Works
POLARIS Spaceplanes tested a 3D printed aerospike rocket engine on its MIRA II demonstrator in Bremen. This page explains the flow physics inside an aerospike nozzle, why additive manufacturing made the geometry practical, and which checks decide whether a printed or machined version survives a hot run.
In this article
- 1
- 2
- 3
- 4
- 5
- 6
How a 3D printed aerospike rocket engine adjusts to altitude
A bell nozzle is a fixed tube. Designers size the exit area for one altitude, usually a compromise between sea level and vacuum. Below that altitude the flow over-expands and separates from the wall. Above it the flow under-expands and you leave thrust behind.
An aerospike flips that arrangement. Instead of a closed skirt, the exhaust expands against an open spike and against the surrounding atmosphere. Ambient pressure becomes part of the nozzle. At sea level the atmosphere squeezes the plume inward. As the vehicle climbs, the plume spreads outward on its own.
That self-adjusting behavior is the whole point. The spike does not move. The pressure field around it changes. Engineers call this altitude compensation, and it matters most on a first stage that has to work from the pad to separation.
The trade-off is thermal. A bell carries its heat in a wide, continuous wall that is easy to cool with channels. A spike is a thin, exposed body sitting directly in the hot gas path. Every square millimeter of its surface sees the full flame.
- 1Bell nozzleOne design altitude, simple cooling, well understood
- 2AerospikeAltitude compensation, harder cooling, harder to make
- 3Ambient pressureActs as the outer nozzle wall on a spike
Why additive manufacturing unlocked the spike
A regeneratively cooled spike needs internal coolant channels that follow a curved, tapering body. Machining those channels into a solid cone means drilling from the outside and plugging the holes, or splitting the part and brazing it back together. Both routes add joints.
Powder bed fusion builds the spike and its channels in one piece. The laser melts each layer, so a channel can turn, branch and narrow without a tool ever reaching inside. That is the real reason a 3D printed aerospike rocket engine became practical rather than theoretical.
The geometry still has limits. Overhanging surfaces below roughly 45 degrees from the build plate need support, and support inside a coolant channel is nearly impossible to remove. Designers rotate the part, self-support the channel roofs, or accept a rougher wall.
Surface finish inside those channels is the second constraint. As-built walls land around Ra 8–15 μm. That roughness raises pressure drop and can trigger local hot spots. Honing or abrasive flow finishing brings the wall toward Ra 1.6–3.2 μm.
- 1One-piece channelsNo drilled plugs, no brazed joints in the hot path
- 2Self-supportKeep overhangs above about 45 degrees
- 3Internal finishAs-built Ra 8–15 μm, finished near Ra 1.6–3.2 μm
Material choice for a spike that runs hot
Copper alloys such as GRCop-42 and CuCrZr conduct heat far better than nickel alloys, which is why they appear in combustion chamber liners. The catch is that copper is soft and creeps. A thin copper spike wall can deform under its own thermal load.
Nickel alloys like Inconel 718 hold strength to roughly 700 °C and print cleanly. They conduct heat poorly, so the coolant has to work harder and the wall has to be thinner. Thin Inconel walls are where print defects show up first.
Some designs split the job. A copper liner carries the heat away, and a nickel or steel jacket carries the structural load. That means two materials and a joint, so the manufacturing plan gets longer and the inspection plan gets stricter.
For a subscale demonstrator, many teams start with a single nickel alloy. It is more forgiving to print and easier to inspect. Move to a copper liner only when the chamber pressure and run time demand it.
- 1Copper alloysBest conductivity, lower creep strength
- 2Inconel 718High strength, poor conductivity, thin walls
- 3BimetallicBetter performance, more joining and inspection
Where CNC machining still fits the aerospike program
Additive does not replace machining on a rocket engine. It feeds it. The injector face, the flange bolt circles, the seal grooves and the mounting interfaces all need tight tolerances that no printer holds as-built.
A printed spike typically arrives with 0.5–1 mm of stock on critical faces. The first operation establishes a datum from the chamber axis, then the flange faces and bolt holes come in on a 4-axis or 5-axis mill. Concentricity between the throat and the mounting flange is the number that decides whether the nozzle sits straight.
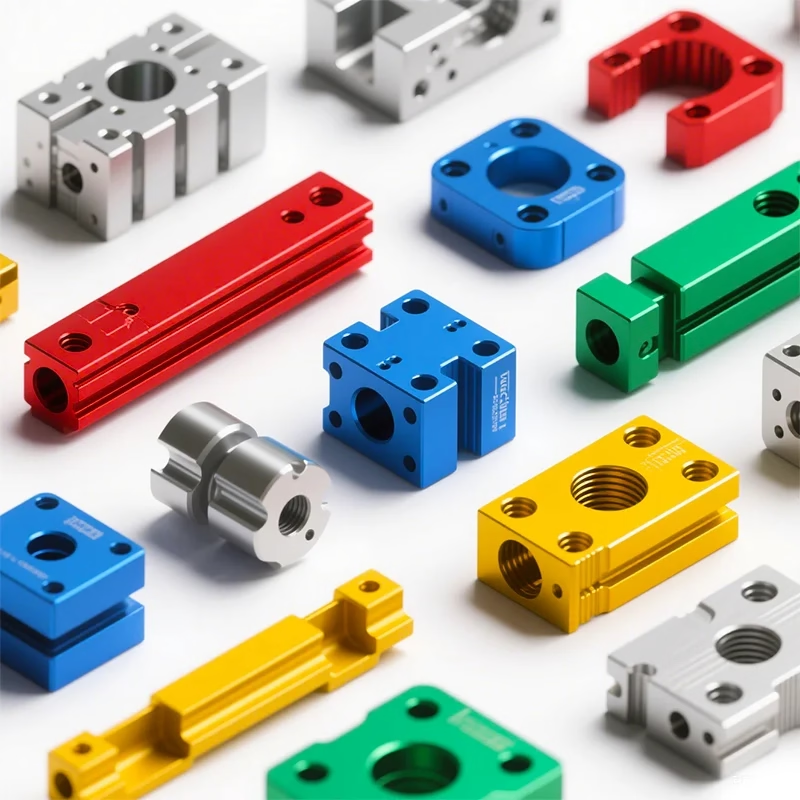
On our 16 simultaneous 5-axis centers we hold ±0.005 mm on turned and milled features, with finishes to Ra 0.2–0.8 μm on seal faces. That is the range where a metal O-ring or a copper gasket actually seals.
Small demonstrator parts also run well as fully machined hardware. A regeneratively cooled spike with simple straight channels can be milled in two halves from 6061 or 316L and joined, which skips the print queue entirely.
- 1Printed near-net0.5–1 mm stock on sealing and mounting faces
- 2Datum firstEstablish chamber axis before any flange work
- 3Critical numberThroat-to-flange concentricity
How to qualify a printed spike before it sees fire
You cannot cut a printed spike open and still fly it, so the inspection plan has to be non-destructive. Computed tomography catches internal porosity, un-melted powder and channel blockages that a visual check misses entirely.
Flow testing is the second gate. Push water or air through the cooling channels and record pressure drop against flow rate. A channel that is half blocked shows up as a higher pressure drop at the same flow, long before it becomes a burn-through.
Wall thickness on the spike tip deserves its own measurement. The tip runs hottest and has the least material. Ultrasonic gauging or a CT slice through the tip tells you whether the print held the nominal wall.
Finally, pressure test the jacket. A hydrostatic test at 1.5 times the design coolant pressure finds leaks at joints and fittings while the part is still on the bench. Once it is on the test stand, a leak becomes a fire.
- 1CT scanPorosity, trapped powder, channel blockage
- 2Flow testPressure drop vs flow rate per channel
- 3Tip wallUltrasonic or CT slice at the hottest point
- 4Hydrostatic1.5× design coolant pressure before hot fire
Aerospike vs bell nozzle: when each one wins
Compare the mission first, then the manufacturing route.
| Factor | Aerospike nozzle | Bell nozzle |
|---|---|---|
| Altitude range | Compensates across the climb | Optimized for one altitude |
| Cooling area | Thin exposed spike, high heat flux | Wide wall, easy channel routing |
| Manufacturing | Additive suits the curved channels | Machining and brazing are proven |
| Inspection | Internal channels need CT or flow test | Wall thickness easy to gauge |
| Best fit | First stage, wide altitude band | Upper stage, fixed vacuum duty |
| Program risk | Higher, less flight heritage | Lower, decades of data |
Pick the route that matches the mission
If the vehicle has to fly through a wide altitude band and you can fund CT and flow inspection, a printed aerospike is the right call. If the nozzle only ever fires in vacuum and the schedule is tight, a bell nozzle with machined and brazed cooling channels will get you to the stand sooner.
Aerospike questions engineers ask
What does altitude compensation actually mean?
It means the nozzle's effective expansion ratio changes as the vehicle climbs, without any moving part. Ambient pressure around the spike acts as the outer wall. At low altitude the atmosphere holds the plume in, so the flow stays attached and efficient.
As pressure drops with altitude, the plume expands further on its own. A bell nozzle cannot do this. It is sized for one pressure and loses performance on either side of it.
Can a 3D printed aerospike rocket engine be made without internal channels?
Yes, for short burns. A radiatively cooled or ablatively lined spike skips the channel network entirely and is much simpler to print. The tip still runs hot, and the run time is limited by how much material it can lose or radiate away.
Regenerative cooling is what buys longer burn times. That is also when internal channel finish and flow balance start to matter, because a starved channel becomes a local hot spot.
Which alloy should a first demonstrator use?
A single nickel alloy such as Inconel 718 is the common starting point. It prints predictably, holds strength at high temperature and is easy to inspect with CT. Copper liners give better heat transfer but add creep, joining and cleaning concerns.
Move to a copper alloy or a bimetallic liner when chamber pressure and run duration push the wall temperature past what the nickel part can survive.
How tight should the machined interfaces be?
Treat the printed body as a near-net blank. Leave 0.5–1 mm on faces that will be machined, then cut flanges, seal grooves and bolt circles after the print. A 5-axis setup keeps the throat and the mounting flange concentric in one fixturing.
Seal faces usually need Ra 0.8–1.6 μm or finer. Rougher faces will not seat a metal gasket reliably under thermal cycling.
What is the usual failure mode on a first hot fire?
Channel starvation and tip burn-through are the two that show up most. Both trace back to internal geometry that did not match the model, either from print distortion or from trapped powder blocking a passage.
That is why a flow test and a CT scan belong before the hot fire, not after. They cost far less than rebuilding a spike that burned through on the stand.
Does additive replace the machining step?
No. It changes what the machining step looks like. The printed part carries the complex internal geometry, and the machined features carry the tolerances that make the engine bolt together and seal.
Programs that skip the machining plan usually end up reprinting parts that were dimensionally close but could not be assembled or sealed.
Send us your spike geometry
Upload a STEP file and we will return a quotation with DFM notes on print orientation, machined interfaces and channel finishing within 12 hours.
12-hour quote100% inspectionNDA on request
More from the shop floor
We publish setup notes, tooling trials and inspection data from the factory floor.











