
CNC 6040 Laser Unlock: 10 Essential Tips for Pro-Level Engraving
A desktop 6040 laser holds tight detail when the frame, optics and power map are treated as measurement problems. This guide is for engineers and shop owners running a 6040 diode or CO2 machine who need repeatable parts, not one-off samples. Read it to judge which of the ten adjustments your machine actually needs.
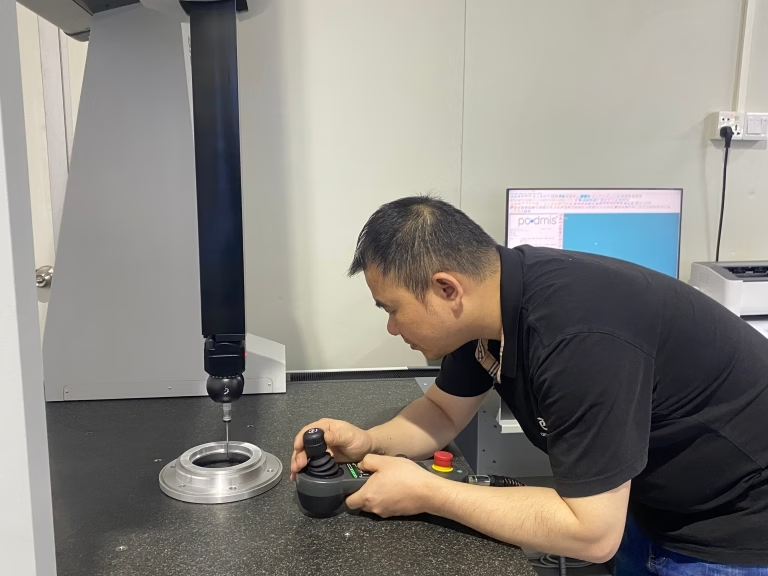
What separates a tuned 6040 from a desktop toy
Ten checks, in the order they affect output.
Treat the frame as a measuring instrument, then clean the optics
A 6040 gantry is light by design. That is fine for engraving, but only when the geometry is locked down. Before you touch the laser, check the X and Y axes with a dial indicator on the moving table. Tram to within 0.05 mm over the working envelope. Play in the gantry when you push it by hand means shim or re-tension. A wavy edge on fine detail is almost always loose frame geometry, not a bad tube.
Check belt tension on both axes and the coupler grubs. A loose belt shows up as backlash, not as a visible wobble, so measure it with a dial indicator against a commanded 10 mm move. Then move to the optics. Clean the lens with high-purity isopropyl alcohol and lens tissue. Cotton swabs leave fibers. Inspect the lens under a bright light at an angle after cleaning. One speck means clean it again.
Map power against speed, and compensate for kerf before you cut parts
Stop guessing at power and speed. Build a test matrix before you run a paid job. Take one material, one thickness, and engrave a grid: five power levels across, five speed levels down. Label every square with its settings. Laminate the sheet and keep it next to the machine. Contract shops run on that sheet every day.
The matrix tells you where the material burns, where it greys, and where it barely marks. For 3 mm acrylic, expect a usable engraving window of roughly 15–35% power at 100–200 mm/s on a 40 W tube. Numbers differ by machine, so trust your own sheet.
Kerf is the width of material the beam removes. On a 6040 it typically lands between 0.08 mm and 0.15 mm, and it changes with focus, power and material. Cut a kerf jig early: a set of slots in 0.05 mm steps, then find the slot where a mating tab press-fits by hand. Program that offset into your CAM file. For press-fit assemblies, this single number decides whether the joint holds without glue.
Air assist and grayscale control the surface, not just the cut
Air assist is not a cooling accessory. A cone of high-pressure air pushes debris away from the lens, reduces flaming on wood and acrylic, and cools the cut zone. The result is a lighter, cleaner edge and a darker, more even engraving. The stock aquarium pump is usually too weak. Use a compressor with at least 30 L/min flow and a needle valve so you can dial the stream down until it just kisses the surface.
Too much air on thin paper or masking film lifts the workpiece. Too little air leaves resin on the lens within an hour. Set it per material and write the value on your matrix sheet.
Grayscale engraving needs hardware PWM, not on/off firing. Convert the image to 8-bit grayscale, apply a Stucki or Jarvis dither in your software, and run a mode that maps each pixel to a power percentage. On anodized aluminum and slate this gives depth that looks machined rather than printed. Test the ramp first: a strip from 0 to 100% power at fixed speed shows you where the material stops responding.
Manage heat in the workpiece and in the controller
Heat is the variable most operators ignore. A 6040 has no chilled bed, so the workpiece stores energy between passes. On acrylic, that shows up as a raised, cloudy edge. On wood, it shows as a wider char line on the second pass. Give the part time to cool between passes, or reduce the number of passes and raise power slightly.
Coolant temperature matters on the tube side. Keep the water below roughly 25 °C; a cheap aquarium chiller holds that better than a bucket of ice. If the tube current drifts as the water warms, your power map from the morning no longer applies by mid-afternoon.
A stock controller that only accepts on/off commands limits everything above. A DSP controller reads G-code style commands, stores multiple jobs, and lets you set power as a percentage per layer. That is what makes gray ramps and repeatable multi-pass work possible. It is the single upgrade that changes what the machine can do.
Do not buy a DSP board before the frame is trammed and the lens is clean. A better brain on a loose gantry just produces bad parts faster.
Calibrate every morning, and build a material library
Start each day with a known-good test piece. A small acrylic or anodized plate with a fixed engraving and a fixed cut slot tells you in two minutes whether the machine drifted overnight. Compare the cut width against your kerf record. If it moved by 0.05 mm, recheck focus and belt tension before running production.
This ritual is what keeps day-to-day output consistent on a budget machine. It also catches a failing lens before it ruins a batch of parts.
Build a material library, not just a settings list. For each stock, record thickness, supplier batch, focus offset, power, speed, air setting and the finish you got. Aluminum 6061 anodized, 304 stainless with marking spray, cast acrylic, and POM all behave differently. A library of finishes is what lets a shop quote a job and hit the same look six months later.
Keep the library in one place and version it. When a supplier changes resin or the anodize thickness shifts, you will see it in the record before the customer does.
Reference settings for common 6040 jobs
Verify on your own machine; treat these as starting points for the test matrix.
| Material | Typical kerf | Air assist | Notes |
|---|---|---|---|
| 3 mm cast acrylic | 0.10–0.15 mm | Medium | Cool between passes to avoid clouded edges |
| 3 mm plywood | 0.12–0.18 mm | High | More air reduces flaming and char |
| Anodized 6061 aluminium | 0.08–0.12 mm | Low | Use 8-bit dither for photo work |
| 0.5 mm 304 stainless | 0.08–0.10 mm | High | Needs marking spray and tight focus |
| 2 mm POM | 0.10–0.14 mm | Medium | Watch for melting at slow speeds |
Common questions from 6040 operators
How often should I clean the lens?
Clean it at the start of every working day and again after any job that produces heavy smoke, such as MDF or rubber. If you can see a haze under angled light, clean again.
A dirty lens absorbs energy, which widens the kerf and softens the engraving. You will chase power settings that were never the problem.
What tolerance can a tuned 6040 realistically hold?
On cut profiles, expect roughly ±0.1 mm after kerf compensation, and tighter on engraving depth than on outline position. Frame rigidity and belt tension set that limit, not the laser tube.
If a part needs ±0.005 mm, that is CNC milling territory, not laser. We run that class of work on 5-axis machining centers with 100% inspection before shipment.
Do I need a DSP controller to get good results?
No, but it removes a ceiling. A stock on/off controller can cut and mark well once the frame and optics are right. It cannot hold per-pixel power, so grayscale and fine depth control stay out of reach.
Upgrade the mechanics and optics first, then the controller.
Why does my second pass cut wider than the first?
Heat buildup in the workpiece. The first pass raises the material temperature, so the second pass removes more material at the same power.
Reduce passes, raise power slightly, or pause between passes. On acrylic, a 30-second pause between passes often fixes it.
When should I move a laser job to CNC machining?
Move it when the part needs metal removal rather than marking, when the tolerance is under ±0.05 mm, or when the material is a structural alloy such as 7075 or 17-4PH.
Laser marks and cuts; it does not hold a bore or a thread. We quote both routes so you can compare before committing.
How do I keep settings consistent across two 6040 machines?
Run the same test matrix on both and store the results per machine. Tube age, lens condition and belt tension differ, so identical settings rarely produce identical output.
A shared material library with a machine column solves this. Record the date and the batch, not just the numbers.
Send the drawing when laser stops being enough
Share your file and we return a quote with a free DFM analysis within 12 hours.
12-hour quote100% inspection±0.005 mm tolerance









