
CNC acrylic processing techniques: cutting PMMA without chips, melts, or crazing
This page covers the shop-floor decisions that decide whether a PMMA part comes off the machine clear or cloudy. It is written for design engineers and buyers who need to specify acrylic, judge a quoted process, and know when acrylic is the wrong choice.
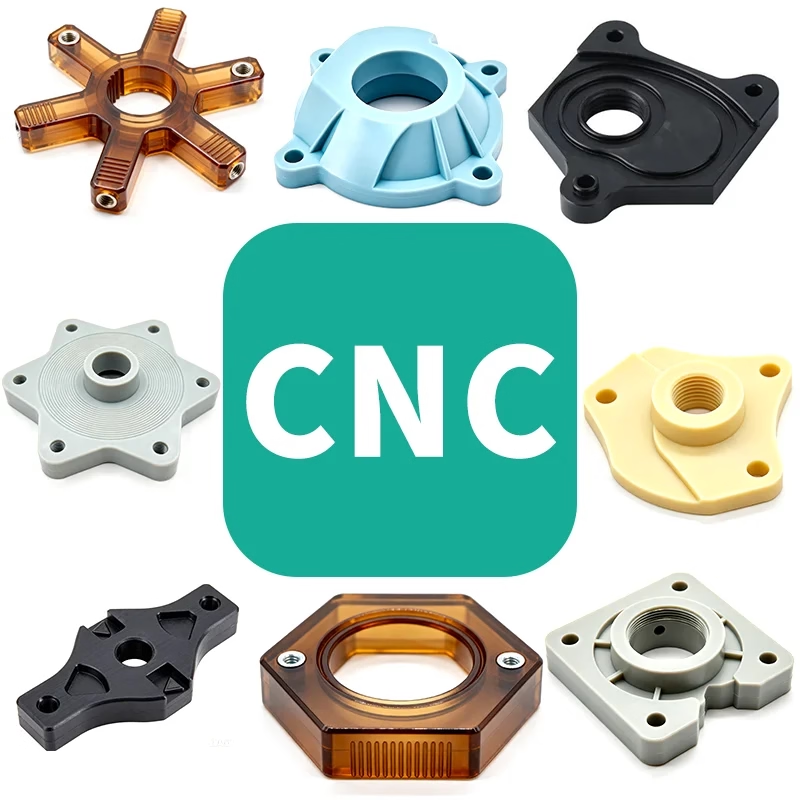
What separates a clear acrylic part from a scrapped one
PMMA is easy to cut and hard to cut well. The difference is heat, chip evacuation, and how the edge is finished.
Cast or extruded: pick the grade before you pick the tool
PMMA comes in two forms that machine differently. Cast sheet is polymerized in a mold, has a higher molecular weight, and machines to a cleaner edge with less gumming. Extruded sheet costs less, holds thickness tolerance tighter, and tends to chip and stress-crack more when the cutter grabs it. For any part that will be polished, bonded, or used in a clean optical path, cast sheet is the safer starting point.
Thickness tolerance on cast sheet is looser, often ±10% or more on nominal. If your drawing calls for ±0.005 mm on a feature, that number has to come from the machined surface, not from the sheet you buy. We measure incoming sheet and adjust the setup so the finished dimension is held after cleanup, not before it. Extruded grades can hold a tighter as-received thickness, which sometimes makes them the better choice for flat panels that need no optical polish.
- 1Cast PMMABest edge quality, accepts flame and vapor polish, higher cost.
- 2Extruded PMMATighter sheet thickness, cheaper, more prone to stress cracks.
- 3Impact-modified PMMATougher, slightly hazy, use where drop resistance matters more than clarity.
- 4Cell-cast optical gradesLowest internal stress, for lenses and light guides.
Cutter geometry and why a metal cutter is the wrong first choice
PMMA cuts by shearing, not by chipping like aluminum. A two-flute end mill with a high helix and a sharp, polished flute face clears the soft chip before it rubs. Standard aluminum geometry with a strong edge hone will rub, generate heat, and leave a white, fractured edge. For finishing passes we prefer single-flute or O-flute cutters in the 3 mm to 12 mm range; the single flute gives a larger chip channel and a smaller contact arc.
Cutter sharpness is the variable that degrades fastest and is noticed last. A tool that has already cut aluminum will have a slightly dulled edge and a small built-up edge that shows up as a rough floor in acrylic. We keep a separate set of cutters for plastics and track them by part count rather than by calendar time. When edge roughness climbs or the sound changes, the tool is swapped.
- 1Helix angleHigh helix pulls chips up and away from the cut.
- 2Rake anglePositive rake lowers cutting force and heat.
- 3CoatingUncoated polished carbide; avoid thick coatings that round the edge.
- 4RunoutKeep below 0.01 mm; runout doubles the effective feed per tooth.
Starting feeds and speeds for cast PMMA
Values for a 6 mm cutter in a rigid setup. Tune from here using chip color and sound, not from the numbers alone.
| Operation | Spindle speed | Feed rate | Depth of cut |
|---|---|---|---|
| Roughing, 6 mm 2-flute | 12,000 rpm | 1,800 mm/min | 2.0 mm axial |
| Finishing, 6 mm 2-flute | 16,000 rpm | 2,400 mm/min | 0.3 mm axial |
| Peripheral profiling | 10,000 rpm | 1,200 mm/min | 1.5 mm radial |
| Drilling, 5 mm twist | 4,000 rpm | 300 mm/min | Peck 2 mm |
| Face milling, 50 mm fly | 6,000 rpm | 1,500 mm/min | 0.2 mm axial |
Heat management: air, chip load, and the limits of coolant
Chip load does more for acrylic than spindle speed. A thin chip means the cutter rubs instead of cutting, and rubbing is what melts the edge. Keep the feed per tooth in a range where the chip is thick enough to carry heat away. If you hear a high-pitched squeal or see a fine white powder instead of chips, the feed is too low or the tool is dull.
Compressed air is the primary coolant for plastic. It clears chips from the slot and removes the heat that builds in the cut. Misting systems can help on deep pockets, but any liquid that pools in a blind hole will leave a mark after evaporation, and water-based coolant can be absorbed into the surface. We run dry with air blast for most acrylic work and save liquid for deep bores only.
Melting is usually traceable to one of four causes. Excessive friction from a dull or honed tool. A feed rate low enough that the edge rubs. Poor chip evacuation so the same chip is recut. Or a cutter held in a tool holder with runout that makes one flute do all the work. Fix the cause, not the symptom.
- 1Air blastAim at the cut, not at the spindle; 4–6 bar is enough.
- 2Short flute lengthLess rubbing on the wall, less heat.
- 3Climb millingThicker chip at entry, less rubbing on the finished face.
- 4Sharp toolTrack by part count; acrylic dulls edges faster than aluminum.
Workholding: hold the part, not the stress
Sheet stock moves when you remove material. A 10 mm cast plate can bow enough to break a tolerance after the first roughing pass. Vacuum tables spread the clamping force over the whole face and let the part relax without lifting. For thin panels we use a spoil board with a gasket channel and dial the vacuum down rather than crushing the sheet.
For small parts, tabs and soft jaws work better than a vise. Vise jaws concentrate force at two points and can leave stress marks that turn into crazing later. If a part has to be held in a vise, we machine soft jaws to the part profile and back the pressure off to the minimum that keeps it still. Torque values matter here, and so does the order of clamp and unclamp on a multi-op part.
- 1Vacuum tableBest for flat sheets, low point loading, fast setup.
- 2Soft jawsMachined to profile, low clamp pressure, no point marks.
- 3TabsKeep small parts connected until the final op.
- 4Stress reliefRough, anneal, then finish for tight-tolerance parts.
Annealing, flame polishing, and vapor polishing
Machining leaves stress in the surface. A rough pass followed by a finish pass on a thick section can leave enough internal stress for the part to craze weeks later, especially near drilled holes and sharp internal corners. Annealing in a controlled oven at a slow ramp and a slow cool relieves that stress. It is the step most often skipped when a part looks good right off the machine.
Flame polishing with a hydrogen-oxygen torch produces the clearest edge and is fast on straight profiles. It also rounds the edge slightly and needs a steady hand; a pause in one spot turns clear acrylic into a bubble. Vapor polishing with methylene chloride gives a more even gloss on complex geometry but softens fine detail and needs ventilation. For a part with both a critical flat and a visible edge, we polish the edge first and protect the flat.
We hold Ra 0.2–0.8 μm on polished optical faces and Ra 1.6–3.2 μm as machined. The tolerance is ±0.005 mm on critical features, checked with CMM or optical comparator before shipment. Every part is inspected; reports are available on request.
- 1As machinedRa 1.6–3.2 μm, visible tool marks, fine for hidden faces.
- 2Vapor polishedEven gloss on complex geometry, softens sharp detail.
- 3Flame polishedClearest edge, slightly rounded, best on straight profiles.
- 4AnnealedRelieves internal stress, reduces later crazing.
When acrylic is the wrong material
PMMA is brittle. A sharp internal corner will concentrate stress and crack under load, and a drop on a hard floor can shatter a part that passed every dimensional check. If the part sees impact, solvent exposure, or a service temperature above roughly 60 °C, another material usually wins. Polycarbonate takes impact better and machines to a duller but tougher edge.
Solvent contact is the other common failure. Alcohol-based cleaners, some thread lockers, and many adhesives will craze a stressed acrylic surface. If a part will be wiped down in service, tell us which cleaner is used and we will test it on a sample before the run. For parts that need both clarity and chemical resistance, we look at coating options rather than changing the base material.
Acrylic still wins in plenty of cases. Light guides, display windows, fluid manifolds, guards, and prototype lenses all benefit from its clarity and its stability under UV. The trick is to design for the material: generous corner radii, no thin unsupported walls, and a surface finish spec that matches how the part is actually used.
- 1Choose PMMAClarity, UV stability, low cost, good machinability.
- 2Choose PCImpact resistance, higher temperature, still transparent.
- 3Choose PEEK or PSUChemical and thermal loads beyond PMMA limits.
- 4RedesignAdd radii, thicken walls, move stress away from holes.
Common questions on machining acrylic
What tolerance can you hold on a machined acrylic part?
We hold ±0.005 mm on critical features of PMMA parts, checked with CMM or optical comparator and reported on request.
The practical limit depends on part size and wall thickness. Thin walls move as material is removed, so we usually rough, stress-relieve, and finish in separate setups for tight work.
Can you quote from a 3D file and tell me if the design will crack?
Yes. Send a STEP or STL file and we return a quotation with a free DFM analysis within 12 hours.
The DFM review flags sharp internal corners, thin walls, and features that will be hard to polish. Those are the usual reasons a PMMA part fails after machining.
Do you keep acrylic cutters separate from metal tooling?
We do. Plastics run on a dedicated set of polished, uncoated carbide cutters tracked by part count.
A tool that has cut aluminum carries a small built-up edge that leaves a rough floor in acrylic, so mixing the two sets is not worth the risk.
How do you clean acrylic parts before shipping?
We use a mild detergent and deionized water, then dry with filtered air. No alcohol wipe on a stressed surface.
If the customer has a specific cleaner or solvent in their process, we test a sample first to check for crazing.
What is the smallest quantity you will run?
There is no minimum order quantity. We run from a single prototype to 10,000+ part runs.
Production can start within 24 hours of a released order, and parts ship in 3–5 days.
Can you bond acrylic parts as well as machine them?
We machine and finish PMMA and can prepare edges for bonding, including annealing and polishing.
Solvent bonding of acrylic is usually done with methylene chloride or a UV adhesive. We will advise on joint design and cure before you commit to a process.
Send an acrylic part and get a process plan with the quote
Upload your file and we return pricing plus a free DFM analysis within 12 hours. Uploads are secure and confidential, and an NDA is available on request.
12-hour quoteFree DFM analysis100% inspectionNDA on request









