
Five Axis Impeller CNC Machining: How It Works and Where It Stops
An impeller is the part that punishes a 3-axis machine. This page explains how five axis impeller CNC machining reaches the blades, what it removes before the ball cutter arrives, and which geometry actually needs the fifth axis. Written for engineers and buyers who have to approve a process, not a slogan.
In this article
- 1
- 2
- 3
- 4
- 5
- 6
- 7
- 8
Key points before the detail
Why an impeller breaks a 3-axis setup
An impeller converts rotation into pressure or flow. The blades are twisted, the channel between two blades narrows as it moves outward, and the root fillet sits in a corner that no straight tool can enter from one direction. That geometry is the whole problem. On a 3-axis machine the tool axis stays vertical, so the shank must clear the blades above it. With a closed or semi-closed impeller, the shank hits the blade before the cutting edge reaches the root.
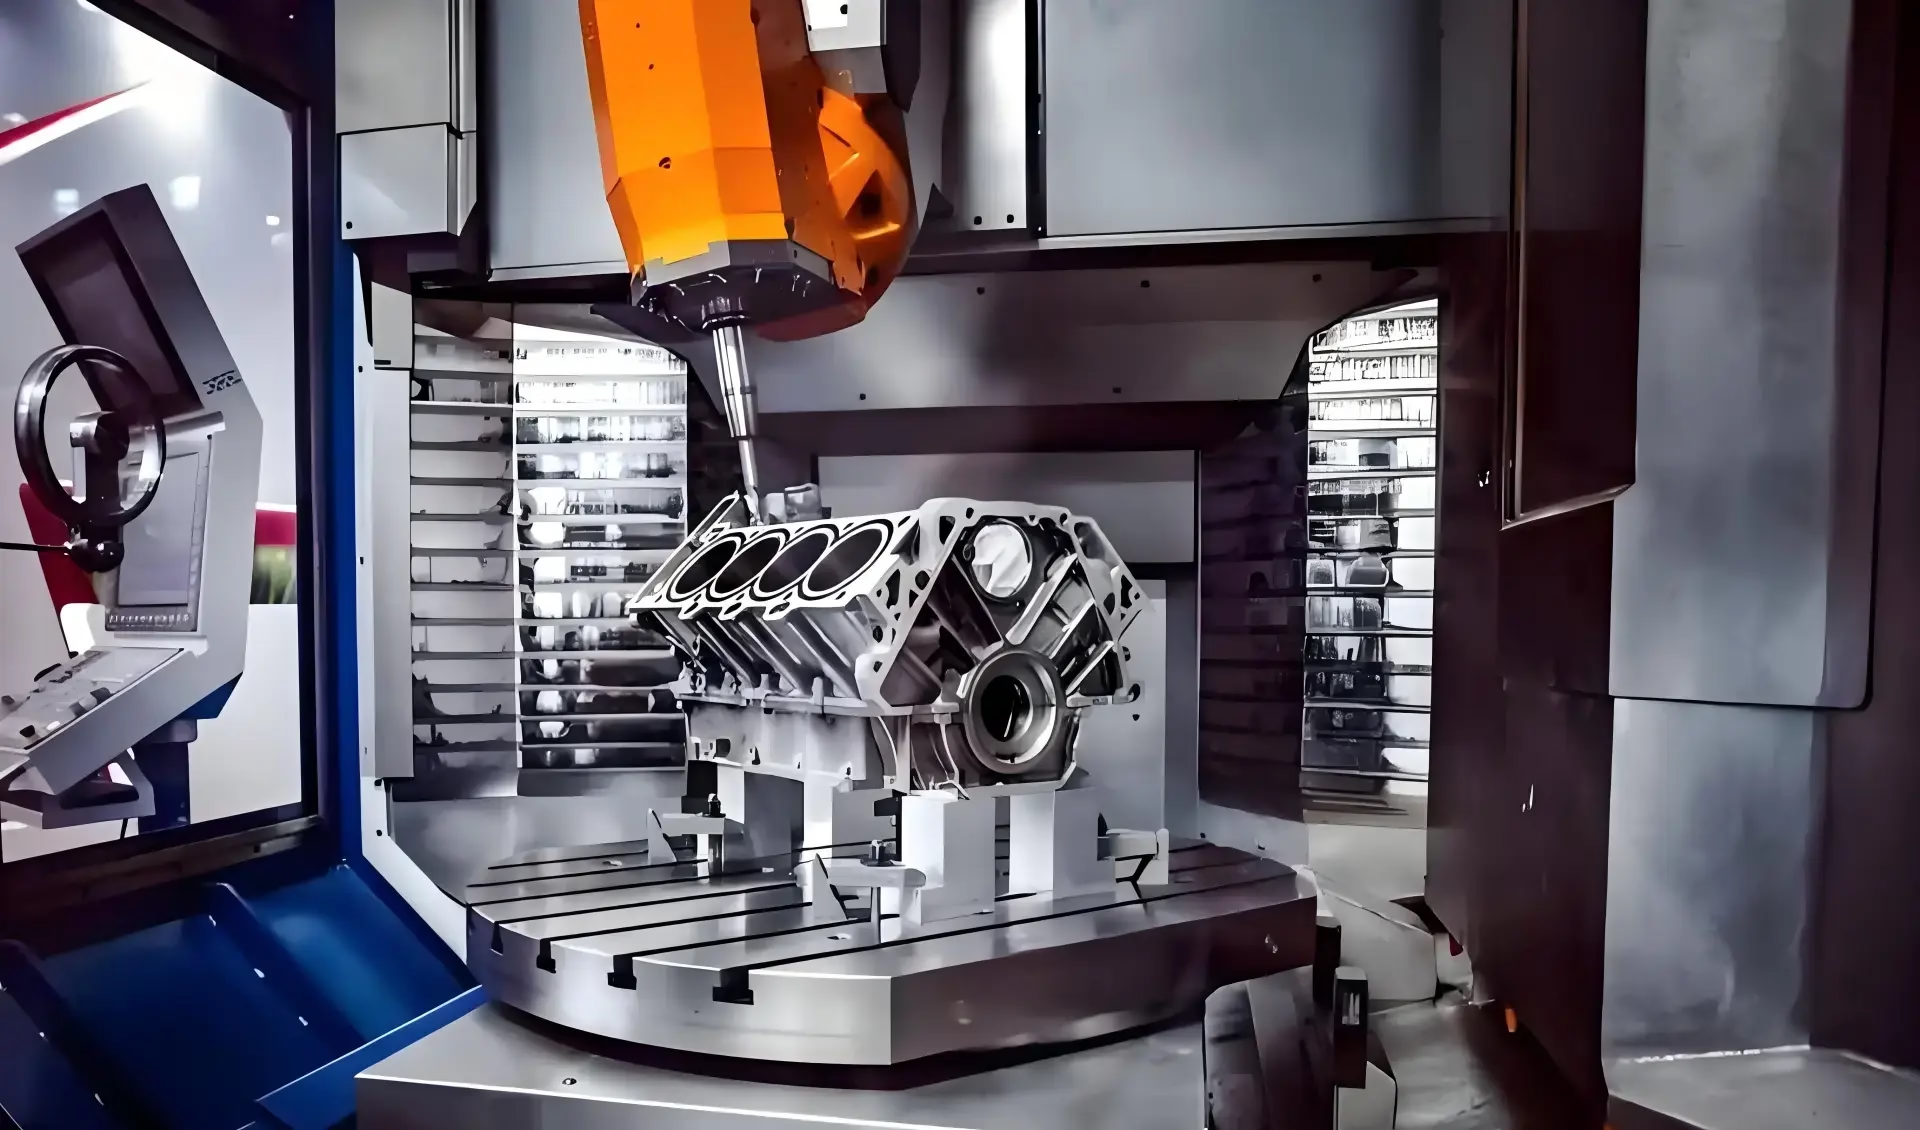
Five axis impeller CNC machining solves the reach problem by tilting the tool. The machine keeps the cutting edge normal to the surface while the shank leans away from the wall it is not cutting. That single change lets a short, stiff tool reach into a channel that a long tool would have to enter vertically. Short tools deflect less, so the surface comes out closer to nominal and the chatter risk drops.
The trade is setup complexity. Two extra rotary axes mean more mass moving, more collision surface, and a post-processor that has to convert a tool vector into axis positions. Errors show up as gouges on the pressure side of a blade, not as a crash. That is why the first part off a five-axis program is checked on a CMM before the run continues.
- 1Closed impellerShroud covers the channel. Five axes are effectively mandatory.
- 2Semi-open impellerShroud on one side. Usually needs five axes; 4-axis plus a tilting fixture can work.
- 3Open impellerBlades exposed. 3-axis can finish the blades if the twist is mild.
Stock removal: where the hours actually go
A machined impeller usually starts as a solid billet or a near-net forging. Most of that material never becomes part of the blade. On a typical aluminium impeller, roughing removes 70 to 90 percent of the starting mass. If that step is planned badly, no amount of five-axis finishing skill will recover the cycle time.
The usual approach is 3+2 roughing: index the rotary table to a few fixed angles and cut the channel in each orientation with a large bull-nose or a high-feed cutter. The tool stays rigid because the axes are locked, and the machine removes volume fast. A 5-axis swarf or flank-milling pass can follow on near-vertical blade walls, using the side of the cutter rather than the tip.
Leave 0.3 to 0.5 mm of radial stock for the finishing pass. That is enough to clean up the scallops from roughing and to absorb any thermal drift, but small enough that the finishing tool is not cutting air. On titanium and Inconel the same numbers apply, but the cutting speed drops hard and the heat has to leave with the chip.
- 1Aluminium 6061 or 7075High-feed roughing, then a light semi-finish before the blade pass.
- 217-4PH stainlessReduce radial engagement, watch work hardening at the root fillet.
- 3Ti-6Al-4V or InconelLow surface speed, climb cut, flood or through-tool coolant.
Blade finishing: keeping the tool normal to the surface
Finishing is where the surface finish and the profile tolerance are set. The cutter stays normal to the blade surface and steps over by 0.1 to 0.3 mm, depending on the tool radius and the finish you need. A smaller step-over gives a better finish and a longer cycle. For most impellers, Ra 0.8–1.6 μm is realistic off the machine with a 0.5 to 1.0 mm step-over on aluminium.
The root fillet is the hard part. It is a small radius in a corner, and it is also the highest-stress region of the part. A tool that is small enough to fit the fillet is also flexible, so it deflects and leaves a witness line. The fix is to keep the fillet tool as short as the geometry allows and to take the fillet in a separate pass with reduced feed, often 50 to 60 percent of the blade feed.
Tool tilt also matters for the leading and trailing edges. If the tool axis is exactly normal at a thin edge, the cutter tends to push the edge rather than shear it. Programmers usually lead the tool slightly into the cut, so the edge is approached from the thicker side. This is a programming decision, not a machine setting, and it is the kind of thing that separates a clean edge from a burred one.
For a shroud-covered channel, the finishing tool has to enter and exit through the same opening. That limits tool length and forces the programmer to check the shank against the shroud on every pass. Simulation is not optional here. GreatLight runs the collision check before the tool ever touches the blank.
- 1Step-over0.1–0.3 mm typical for blade finishing.
- 2Fillet passSeparate pass, reduced feed, shortest possible tool.
- 3Edge approachLead the tool into the cut from the thicker side.
Fixtures, datums, and the rotary table
An impeller is usually machined from one side, then flipped or supported from the hub for the second side. Every flip adds a datum error. The best setups define the part on the hub bore and a face, and use a fixture that repeats that datum on both operations. If the fixture is soft or the clamping pressure is uneven, the blades spring and the profile drifts.
On a simultaneous 5-axis machine, the part sits on a trunnion or a rotary table. GreatLight uses a Ø400 mm rotary table on the compact and medium 5-axis centers, which covers impellers up to roughly 350 mm in diameter. Larger impellers move to a machine with a 4,000 × 400 × 150 mm travel envelope, but the practical size limit is set by the swing and by how far the tool has to reach, not by the table alone.
Zero-point clamping helps here. If the fixture is pre-set on a pallet, the second operation starts from a known position instead of being dialed in by hand. That saves setup time and removes a source of variation between the first part and the hundredth.
One more point on thin blades. Clamping force can distort a blade that is only 1.5 mm thick at the tip. Light clamping, supported under the blade, and a finishing pass after the part has relaxed are the usual answers.
- 1Primary datumHub bore and face, repeated on both operations.
- 2Rotary tableØ400 mm covers impellers up to about 350 mm.
- 3Thin bladesLight clamping, finish after stress relief.
When five axis impeller CNC machining is the wrong call
Five axes are not free. The machine hour rate is higher than a 3-axis mill, programming takes longer, and the inspection load is heavier. If the impeller is open, the blades are radial or only mildly twisted, and the channel is wide, a 3-axis machine with a 4-axis indexer will hold the same tolerance for less money. That is not a downgrade; it is the correct process for that geometry.
The honest boundary is reach and channel width. If a straight tool can touch the root fillet without the shank touching the blade above it, you probably do not need simultaneous five-axis motion. If it cannot, you do. A quick check is to model the tool as a cylinder with the shank diameter and sweep it through the channel in a 3-axis setup. If it collides, the part needs the extra axes.
Another boundary is quantity. For one prototype, the programming time can dominate the cost. For a run of 500 parts, the same program is spread thin and five-axis economics improve sharply. The process choice should follow the geometry first and the quantity second, not the other way around.
Finally, some impellers are better cast or printed and then machined only on the critical surfaces. That hybrid route can beat a full five-axis cut on a complex closed impeller, especially in a hard alloy where cutter wear is severe.
- 1Use five axes whenClosed or semi-closed channel, twisted blades, tight root fillet.
- 2Stay at 3 or 4 axes whenOpen impeller, wide channel, mild twist.
- 3Consider a hybrid routeCast or printed blank, machined on mating and flow surfaces.
Inspection, balance, and what to measure
An impeller that measures well on a CMM can still vibrate on the test stand. The two checks answer different questions. CMM inspection confirms the blade profile, the root fillet, and the hub bore. Balance confirms that the mass distribution is even around the axis. Both matter, and neither replaces the other.
Profile tolerance on the blade is usually the tightest callout on the drawing. GreatLight machines to ±0.005 mm where the geometry allows and inspects 100 percent of parts before shipment, with raw material check, in-process monitoring, and final inspection. Reports are available on request. For impellers, the critical measurements are the blade thickness at three or four stations, the fillet radius, and the runout of the hub bore.
Surface finish is measured on the pressure side and the suction side separately, because the two surfaces see different chip loads and come out differently. Ra 0.8–1.6 μm is a normal target on aluminium and stainless; Ra 0.2–0.8 μm is reachable with a finer step-over or a light polish, but it costs cycle time.
If the impeller spins at high speed, ask for a balance report before assembly. Unbalance shows up as a once-per-revolution vibration and it is far cheaper to fix at the machine than on a test rig.
- 1Blade thicknessMeasure at three or four stations along the chord.
- 2Hub bore runoutSets the rotating datum for the whole part.
- 3BalanceRequest a report for high-speed assemblies.
Which setup fits which impeller
Judge by channel access and blade twist, not by habit.
| Impeller type | Typical setup | Why | Watch out for |
|---|---|---|---|
| Open, radial blades | 3-axis + indexer | Tool reaches the root from above | Blade tip burrs |
| Open, twisted blades | 4-axis or 3+2 | Indexing covers most of the surface | Uneven step-over on the twist |
| Semi-open, twisted | Simultaneous 5-axis | Shank must clear the shroud | Root fillet witness line |
| Closed, many blades | Simultaneous 5-axis | Only a tilted short tool fits | Tool length and collision |
| Large diameter, open | 5-axis gantry travel | Envelope and swing are the limit | Thermal drift over long cuts |
| Hard alloy, closed | 5-axis plus cast blank | Cutter wear on full cut is severe | Stock allowance consistency |
The short version
If the tool shank cannot reach the root fillet without touching a blade, use five axis impeller CNC machining. If it can, a 3-axis or 4-axis setup will cost less and hold the same tolerance. Decide on geometry, then on quantity.
Questions engineers ask before releasing the drawing
What tolerance can five axis impeller CNC machining hold on a blade profile?
GreatLight machines to ±0.005 mm where the geometry and the tool reach allow. On thin blade tips, deflection rather than the machine sets the practical limit.
Send the drawing with the critical callouts marked. We return a DFM analysis with the quotation, usually within 12 hours.
Which materials are practical for a machined impeller?
Aluminium 6061, 7075, 2024 and 5083 are common. Stainless 17-4PH and 316L suit corrosive duty. Ti-6Al-4V and Inconel are used where temperature or strength demands it, but cutting speed drops and cycle time rises.
The material list also includes 4130, 4140, brass, copper and engineering plastics such as PEEK and POM.
How long does a five-axis impeller run take?
Production can start within 24 hours of a released program and parts typically ship in 3–5 days. Cycle time depends on blade count, channel width and material.
For a first article, allow extra time for the CMM report and any balance check.
Can you machine a closed impeller as one piece?
Yes, if the channel is open enough for a tilted tool to enter and exit. Very narrow channels with many blades may need a split-and-join design or a cast blank finished on the flow surfaces.
We review this in the DFM step and tell you which route is cheaper before you commit.
Do you need a 3D model, or is a 2D drawing enough?
A 3D model is strongly preferred for twisted blades, because the surface is defined by the model, not by section views. A 2D drawing alone usually leaves the blade surface ambiguous.
STEP and IGES files work. Add the 2D drawing for tolerances, datums and finish callouts.
What happens to my files?
Uploads are secure and confidential. An NDA is available on request and we can sign yours before files are transferred.
There is no minimum order quantity, so a single prototype and a 10,000-part run go through the same confidentiality process.
Send the impeller drawing and get a real process answer
Upload the model and drawing. We return a quotation with a free DFM analysis within 12 hours, and tell you whether the part needs five axes or not.
12-hour quote100% inspectionNDA on request
More machining process notes
We publish setup notes, tooling trials and inspection data from the factory floor.











