
Give Me a CNC: What Figure Carving Can and Cannot Do
This page explains how a machined figure is actually produced: the CAD model, the toolpaths, the stock, the wall thickness. It is written for engineers and buyers who want to judge whether a sculpted part is machinable before they send it to a shop.
In this article
- 1
- 2
- 3
- 4
- 5
- 6
- 7
- 8
Key takeaways
What give me a CNC actually means on the shop floor
Give me a CNC and a CAD file and the machine does not carve anything. It follows a toolpath. The toolpath is a set of line and arc commands that tell a spinning cutter where to move, how fast, and how deep to cut. Everything visible in the finished part is the result of those commands and the shape of the cutter.
Carving a figure is not different in principle from cutting a bracket. The difference is that a figure has no flat datum to clamp against, no parallel faces to measure, and surfaces that change direction every few millimeters. That is what makes it hard.
The work starts with a solid model. A mesh file such as STL can be machined, but it must first be converted into a surface model. Curvature errors in the source mesh become visible gouges after cutting, so the model has to be clean before any toolpath is generated.
For a figure sitting on a base, we usually split the model into a base plate and the sculpted body. The base gives a flat face for the vise, and the body can then be flipped for the second side. A one-piece part with no flat face is machinable, but it costs more setup time.
- 1CAD firstA closed solid model, no open edges, no self-intersections.
- 2Stock choiceBlock, round bar or near-net casting, depending on the largest section.
- 3DatumsAt least one flat face or a machined boss for clamping.
Tool reach and undercuts: where a figure stops being machinable
A ball nose cutter has a spherical tip. Its radius sets the smallest concave feature it can cut. If a crease in the model has a radius of 1 mm, a Ø6 mm ball cutter will not enter it. It will bridge the crease and leave a fillet. To cut that detail the tool must be smaller than the feature.
Small tools deflect. A Ø1 mm end mill with 10 mm of flute length will bend under cutting load. The result is chatter, poor surface finish, and a dimension that drifts. Long reach and small diameter cannot both be pushed hard.
Undercuts are the classic limit. A chin, a gap between an arm and the torso, or a hollow behind a shoulder are all regions the tool cannot reach from one direction. A 3-axis machine reaches only from the top. A 5-axis machine tilts the tool and the part, so the same region can be approached from two or three angles.
Even with 5-axis, some geometry stays out of reach. A closed internal cavity with a narrow opening cannot be cut by a rotating tool at all. Those regions are usually split into separate parts and assembled, or the design is changed so the cavity becomes a slot.
- 1Cutter radius ruleTool radius must be smaller than the smallest concave radius in the model.
- 2Length-to-diameterKeep reach under 5× diameter for finishing passes in aluminium.
- 35-axis accessRotary table Ø400 mm handles parts up to that swing.
- 4Split and joinMachinable halves joined by dowels, then blended.
3-axis, 4-axis or 5-axis: picking the setup that fits the part
A 3-axis machine cuts from one direction. For a shallow relief, a medallion, or a figure that can be flipped once, that is enough. Setup is simple, the part is rigid, and the toolpath is short. Many decorative parts never need more.
A 4-axis machine adds a rotary axis, usually around X. The part turns while the tool stays in one plane. This suits a figure with rotational symmetry, such as a turned torso, a column, or a vase-like form. It does not solve deep undercuts on the front face.
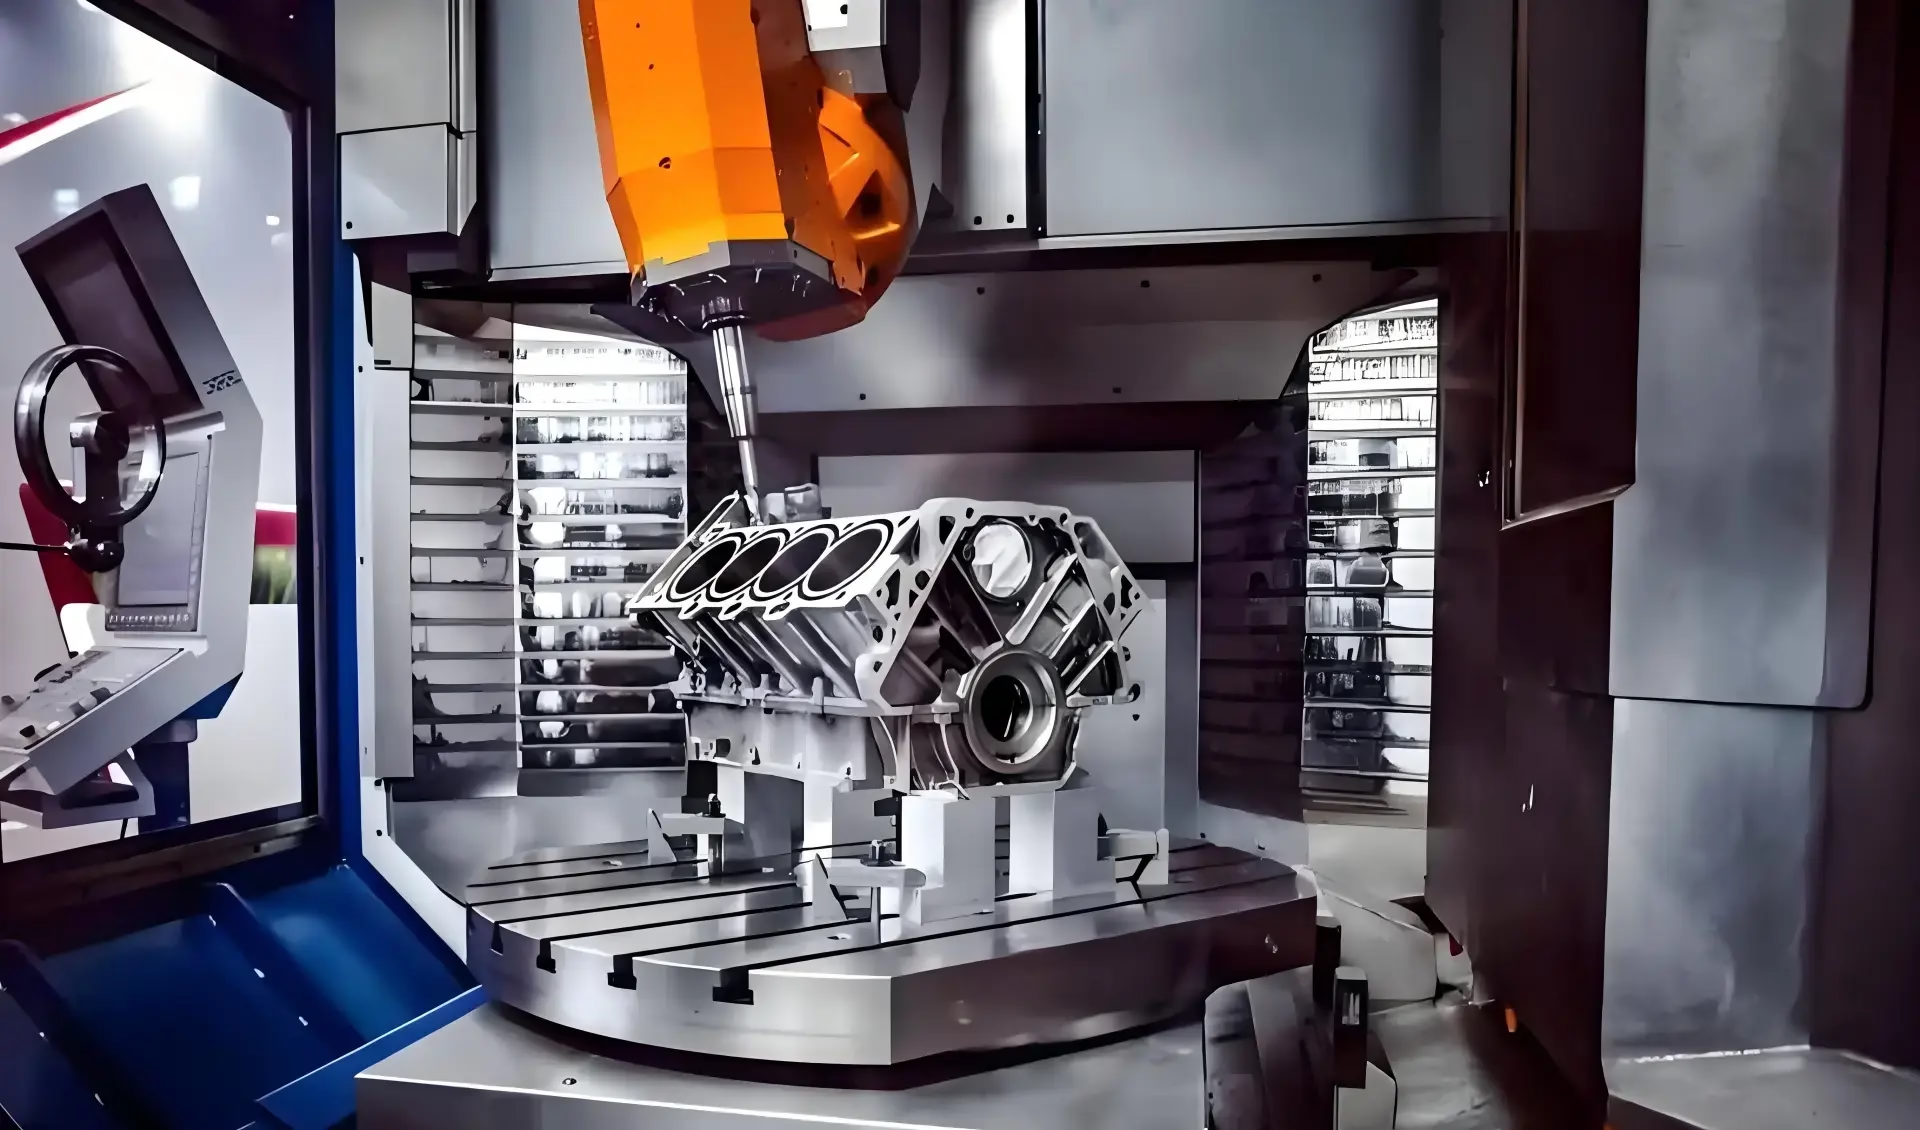
A 5-axis machine adds a second rotary axis, so the tool can tilt. This is what allows a short, stiff cutter to reach into a crease at an angle. It also reduces the number of setups, because five faces can be cut without re-clamping. Fewer setups mean less accumulated position error.
The trade-off is cost and programming time. A 5-axis toolpath takes longer to verify and the machine hour rate is higher. For a flat-back relief, 3-axis plus hand blending is often cheaper. For a free-form figure with no flat reference, 5-axis is usually the only way to hold tolerance across the whole surface.
- 13-axisReliefs, plates, single-flip figures.
- 24-axisRotational forms, turned sections, engraved cylinders.
- 35-axisFree-form surfaces, deep creases, multi-face parts.
Feeds, stepover and finish: the numbers behind a clean surface
Roughing removes most of the stock. A typical strategy is adaptive clearing with a stepdown of 0.5–2 mm in aluminium, leaving 0.3–0.5 mm of radial stock for finishing. Cutting too light wastes time; cutting too deep deflects the tool and leaves a stepped surface.
Finishing sets the surface. A ball nose cutter leaves a scallop pattern whose height depends on stepover and tool radius. A Ø6 mm ball cutter at 0.2 mm stepover leaves scallops around 1.7 μm tall. That is close to Ra 0.8–1.6 μm after light blending. Halving the stepover roughly quarters the scallop height.
Feed per tooth matters more than spindle speed alone. In 6061 aluminium, a 3-flute Ø6 mm cutter at 12,000 rpm and 0.05 mm per tooth gives a feed of 1,800 mm/min. Pushing past that risks chatter on a thin section, and chatter marks cannot be polished out without changing the shape.
Cooling and chip evacuation decide whether the finish is repeatable. Misting or flood coolant keeps the cutter cool and clears chips. Dry cutting with air blast works for aluminium, but deep pockets in stainless usually need flood coolant to avoid work hardening.
- 1Roughing stock0.3–0.5 mm radial, 0.5–2 mm axial in aluminium.
- 2Stepover0.1–0.3 mm for a Ø6 mm ball nose finishing pass.
- 3Surface targetRa 0.8–1.6 μm as machined; finer needs polishing.
Material choice changes the carving and the finish
Aluminium 6061 is the default for machined figures. It cuts fast, holds detail, and takes anodizing in clear, colour or hardcoat. A hardcoat layer adds wear resistance but can round sharp edges by a few micrometers, which matters on fine facial detail.
Brass and copper cut cleanly and polish to a mirror. C36000 free-cutting brass is the easiest of the copper alloys to machine, but it is heavier and more expensive per kilogram than aluminium. Beryllium copper machines well but needs dust control.
Stainless 303 and 316L hold a sharper edge than aluminium and resist corrosion. They are slower to cut and work harden if the cutter rubs instead of cuts. For a small figure with thin sections, stainless is more likely to deflect during finishing.
Titanium Ti-6Al-4V (TC4) is used when weight and strength both matter. It cuts at roughly one third the speed of aluminium, generates heat at the cutting edge, and needs sharp, coated tooling. Fine detail in titanium is possible but the cost per part rises sharply.
- 1AnodizingClear, colour, hardcoat or conductive; adds 5–25 μm.
- 2PlatingElectroless nickel, zinc, silver or gold.
- 3Laser markingMinimum character height 1.5 mm for legible text.
How a carved surface is measured and accepted
A free-form surface cannot be checked with calipers alone. The standard method is to compare the finished part against the CAD model using a coordinate measuring machine or a laser scanner. The reported value is usually a profile deviation, not a single diameter.
For a figure with ±0.005 mm tolerance on critical features, those features are usually bores, flats or mounting bosses. The sculpted surface itself is held to a looser band, often ±0.05 mm, because polishing and blending move the surface anyway.
Surface finish is checked with a profilometer on a flat witness area, or by visual comparison against a reference sample. Ra 0.2–0.8 μm is a fine finish that shows reflections. Ra 1.6–3.2 μm is the normal as-machined look with visible tool marks.
Every part is inspected before shipment. Raw material certificates are checked on receipt, dimensions are monitored during cutting, and a final inspection report is issued on request. For a one-off figure, the report usually includes the profile deviation map and the finish reading.
- 1CMM or scanProfile deviation against the CAD model.
- 2Critical featuresBores and flats held to ±0.005 mm.
- 3Finish readingProfilometer on a flat witness area.
Which setup fits which figure
Use the tightest geometry in the part to pick the row, not the average.
| Part feature | Best setup | Typical tolerance | Watch out for |
|---|---|---|---|
| Flat-back relief, one face | 3-axis | ±0.05 mm | Deep pockets need long tools |
| Two-sided figure, flat base | 3-axis, two setups | ±0.02 mm | Flip alignment error |
| Turned or cylindrical form | 4-axis | ±0.02 mm | Rotary table runout |
| Free-form face, no datums | 5-axis | ±0.005 mm | Programming and verify time |
| Undercut behind a limb | 5-axis or split part | ±0.01 mm | Joint line needs blending |
| Thin shell under 1.5 mm | Split and braze | ±0.05 mm | Clamp crush and chatter |
When to machine a figure and when not to
If the part has a flat face, moderate creases and a wall above 2 mm, 3-axis machining is the cheaper and faster route. If it is free-form with deep undercuts and thin sections, go 5-axis or split the model into machinable pieces. If the geometry is a closed hollow shell with no opening, no CNC setup will cut it in one piece, so redesign it as two halves.
Questions engineers ask before quoting
Can any figure be machined from one solid block?
No. A closed internal cavity with a narrow opening cannot be reached by a rotating cutter. Deep undercuts on a limb or behind a shoulder may also be unreachable from any tool orientation.
In those cases we split the model into two or more parts, machine each half, and join them with dowels or a press fit. The joint line is then blended and finished so it disappears after polishing.
What is the smallest detail a CNC can cut?
The limit is set by the cutter, not the machine. A Ø1 mm ball nose cutter can resolve a concave radius of about 0.5 mm, but it must be kept short to avoid deflection. In practice, facial features smaller than 0.5 mm are usually left to laser engraving or hand finishing.
Laser marking has its own floor: text below 1.5 mm character height stops being legible after anodizing or plating.
How thin can a wall be on a carved part?
For a figure around 150 mm tall in aluminium, keep walls above 1.5 mm. Below that, clamping pressure and cutting forces distort the section, and chatter marks appear on the opposite face.
If the design needs a thinner shell, machine it in two halves with extra stock, join them, then finish the outside. That avoids clamping the thin wall directly.
Does 5-axis machining always give a better finish?
Not automatically. Five-axis lets a shorter, stiffer tool reach the surface at a better angle, which reduces chatter and scallop height. But the toolpath must be verified, and a badly planned 5-axis pass can leave worse marks than a simple 3-axis raster.
For flat or gently curved surfaces, 3-axis with a small stepover often gives an equal or better finish at lower cost.
What file format should I send?
A closed solid model such as STEP or Parasolid is the most reliable. Native CAD files from SolidWorks, Inventor or Fusion 360 also work. Mesh files such as STL can be machined, but they must be converted to a surface model first, and any mesh errors become visible gouges after cutting.
Send the model together with any critical dimensions, datum notes and the required surface finish.
How is a sculpted surface inspected?
The finished part is scanned or probed and compared against the CAD model. The result is a color map of profile deviation, with the maximum and average values reported.
Critical bores and flats are measured separately with a CMM to ±0.005 mm. The sculpted surface is usually accepted within a wider band, because polishing changes the surface by a few micrometers.
Send the model, get a machinability check
Upload a STEP file and we return a quotation with free DFM analysis within 12 hours, including any geometry that needs splitting or redesign.
12-hour quote100% inspectionNDA on request
More machining notes
We publish setup notes, tooling trials and inspection data from the factory floor.











