
6 Tips for Processing Aluminum Alloys on CNC Machines
Aluminum cuts fast, but it also moves, sticks and burns when the setup is wrong. This guide is for engineers and buyers who need to pick a grade, set a process and judge whether a part belongs on a 3-axis mill or a 5-axis cell. Read it and you can review an aluminum job before the first chip is made.
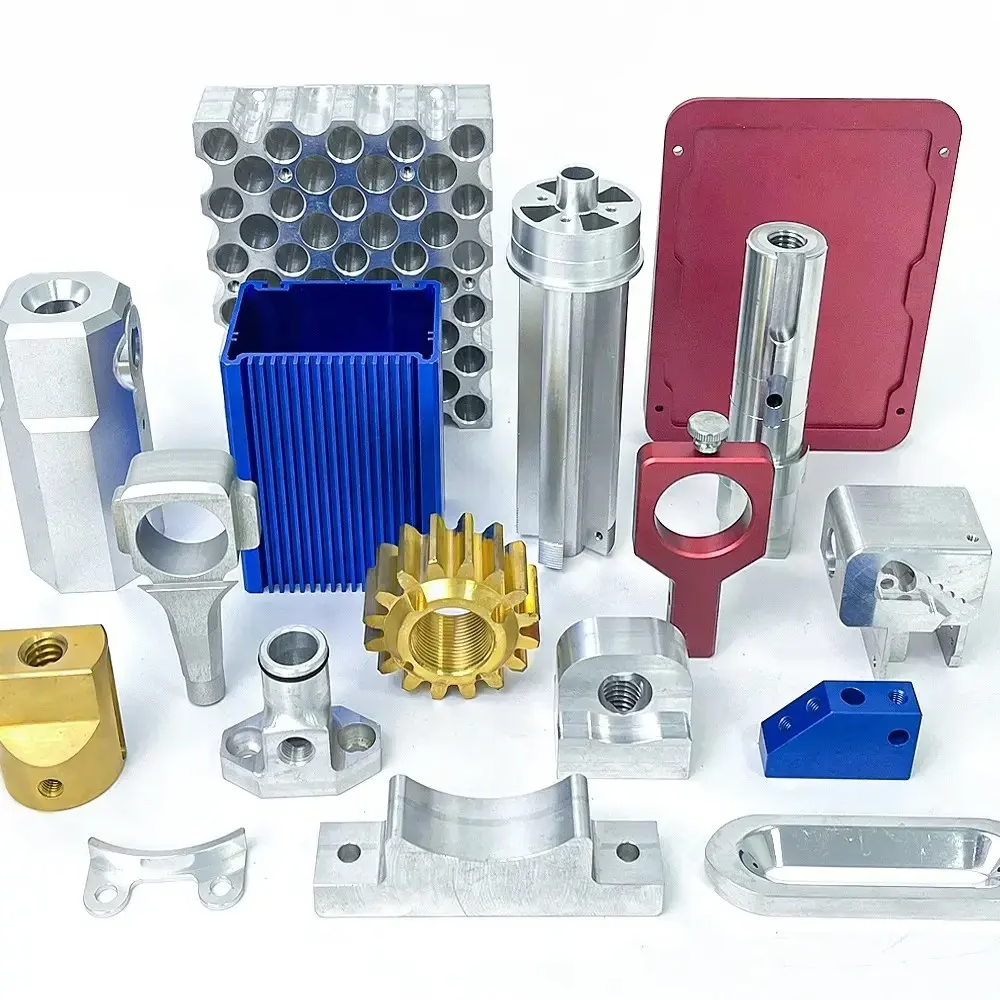
What makes aluminum different from steel on the shop floor
Aluminum is light and cuts at high speed. The same properties that make it fast also make it easy to scrap.
Pick the grade before you pick the tool
Not every aluminum behaves the same way. 6061-T6 is the default for brackets, housings and fixtures because it welds, anodizes and machines predictably. 7075 offers roughly twice the yield strength of 6061, which suits aerospace ribs and mold cores, but it is less weldable and costs more per kilogram.
The softer grades cause most of the trouble. 5052 and 5083 are gummy, so they build up on the cutting edge and tear instead of shearing. Use them for sheet metal work or welded tanks, not for tight-tolerance turned parts. ADC12 is a die-casting alloy; it is not a good choice for machined structural components.
Before quoting, we check the drawing against the grade. A part with thin walls and a 7075 callout may need more passes and a different workholding plan than the same part in 6061. Getting that settled early avoids a mid-run change.
One more point on temper. 6061-T6 machines cleanly, but annealed 6061-O is soft and tends to smear. When the drawing only says aluminum, ask which temper.
- 16061-T6General machining, anodizing, moderate strength
- 27075-T6High strength, aerospace and mold work, harder on tools
- 35052 / 5083Sheet, welded assemblies, gummy on the lathe
- 42024-T4Fatigue resistance, poor corrosion resistance without coating
Tool geometry decides whether the chip leaves or rubs
Aluminum needs sharp edges and plenty of rake. A polished, uncoated 2-flute or 3-flute carbide end mill works for most pockets and profiles. The high helix angle pulls chips up and away, which matters in deep cavities where recutting causes built-up edge.
Coatings are a mixed bag. TiAlN and similar hard coatings resist heat but have a higher friction coefficient against aluminum, so they can drag and weld. Diamond-like carbon (DLC) or ZrN run cooler on aluminum. If the job is short, an uncoated polished tool is often the better call.
For drilling, use a 118° or 130° point with a split point and polished flutes. Standard jobber drills grab and pull when they break through thin sections. A stub drill on a rigid setup gives a cleaner hole and less exit burr.
Reamers and taps deserve attention too. Spiral-flute taps cut aluminum without packing the flutes, while straight-flute taps tend to clog. Form taps work well in 6061 but need a slightly larger pilot hole.
- 12–3 flutesGood chip room for roughing and profiling
- 2High helixBetter evacuation in deep pockets
- 3Polished flutesReduces built-up edge on gummy grades
- 4Avoid TiAlNHigher friction against aluminum
Speeds, feeds and the heat that never leaves
Aluminum conducts heat away from the cut, so the tool stays cooler than it would in steel. That lets you run surface speeds of 300 to 500 m/min with carbide, and spindle speeds that would burn a steel tool. The limit is usually the machine, not the material.
Chip load matters more than spindle speed. A light chip rubs the edge and work-hardens the surface. Aim for a chip load that produces a thick, curled chip, then adjust feed to keep it consistent. If the chip looks like dust, the feed is too low.
Coolant choice depends on the operation. Flood coolant handles deep pockets and keeps chips moving. Mist or air blast works for open profiling where coolant would pool. For finishing passes, a light mist can leave a better surface than a heavy flood.
Watch for chatter on thin walls. It shows up as a rippled surface and a squealing sound. Reducing radial engagement and increasing feed per tooth often fixes it better than slowing the spindle.
- 1300–500 m/minTypical surface speed with carbide
- 2Thick chipsSign of a healthy feed rate
- 3Dusty chipsFeed too low, edge will rub
- 4Light radial cutReduces chatter on thin walls
Starting parameters for common aluminum grades
Use these as a starting point, then tune to the machine and tool holder.
| Grade | Machinability | Typical use | Notes |
|---|---|---|---|
| 6061-T6 | Excellent | Brackets, housings, fixtures | Welds and anodizes well |
| 7075-T6 | Good | Aerospace ribs, mold cores | High strength, less weldable |
| 2024-T4 | Good | Fatigue-critical aircraft parts | Needs coating for corrosion |
| 5052 | Fair | Sheet metal, welded tanks | Gummy, builds up on edge |
| 5083 | Fair | Marine and welded structures | Similar to 5052, tougher |
| 6082-T6 | Very good | Structural profiles, EV parts | Slightly stronger than 6061 |
| ADC12 | Fair | Die cast housings | Not ideal for structural machining |
Workholding holds the tolerance, not the vise
Aluminum moves when you remove material. A block that is flat in the vise can bow after roughing as internal stress releases. Rough, stress-relieve, then finish is the reliable sequence for tight parts.
For thin plates, vacuum chucks or dedicated soft jaws spread the clamping force. Three-point clamping on a thin wall will distort it, and the finished part springs back when you unclamp. Support underneath and clamp lightly.
Five-axis work benefits from a single setup. A trunnion or a Ø400 mm rotary table lets you reach five faces without re-fixturing, which removes stacking error. That matters on parts with bores that must stay concentric.
On long parts, support the overhang. A 4,000 mm travel machine can hold a long extrusion, but without a steady or tailstock the middle will deflect. Check the setup before blaming the tool.
- 1Rough then finishLets internal stress release before the final pass
- 2Soft jawsSpread clamping force on thin sections
- 3Single setupFive-axis reduces stacking error
- 4Support overhangsPrevents mid-span deflection on long parts
Chip evacuation is a process, not an afterthought
Aluminum makes a lot of chips fast. If they stay in the cut, the tool recuts them, heat rises and the finish goes dull. Deep pockets and blind holes are where this shows up first.
Through-spindle coolant or high-pressure air clears the cut. When neither is available, program a peck cycle or a retract move to break the chip and let it fall. A short dwell at the bottom of a pocket can help, but it also rubs the edge.
Chip size is a clue. Long stringy chips tangle around the tool and scratch the finished wall. Adjusting feed and speed to break them into short curls solves most of it. If the chip is fine powder, the feed is too low.
For deep holes, drill in steps and clear the flutes. A peck drill cycle with a full retract keeps the hole straight and stops the drill from packing.
- 1Through-coolantBest for deep pockets and blind holes
- 2Peck cycleBreaks chips and clears flutes
- 3Short curlsSign of good feed and speed
- 4Stringy chipsTangling risk, adjust feed
Finishing and deburring decide how the part looks
A sharp tool and a light finishing pass give the best surface. Worn tools leave a haze that no amount of polishing removes evenly. Change the tool before the finish pass on visible faces.
Bead blasting evens out tool marks and prepares the surface for anodizing. Brushing gives a directional grain. Polishing reaches a mirror finish but can round edges if it is overdone. Pick the finish before the last cut, because the machining allowance depends on it.
Anodizing adds a thin oxide layer that grows into the part. Hardcoat anodizing can build 25 to 50 μm, which changes the size of a bore or a shaft. Leave stock for it on critical diameters.
Deburring by hand is fine for a prototype. For production runs, a chamfer tool in the program does the work consistently and removes the risk of a sharp edge reaching the customer.
- 1Fresh toolUse a new cutter for the finish pass
- 2Bead blastEvens marks before anodizing
- 3Hardcoat anodizeBuilds 25–50 μm, plan the stock
- 4Chamfer in programConsistent deburring on production runs
Common questions about processing aluminum alloys
Which aluminum grade is easiest to machine?
6061-T6 is the most forgiving. It cuts cleanly, holds a good finish and anodizes well. 6082-T6 behaves much the same with slightly higher strength.
If the part needs high strength, 7075-T6 is a good step up, but expect shorter tool life and a higher material cost.
Why does my aluminum part warp after machining?
Internal stress releases as material is removed. Thin plates and long parts are the usual victims.
Rough the part, let it rest, then take a light finishing pass. On very tight parts, a stress-relief step between roughing and finishing keeps the flatness in check.
Can aluminum be machined without coolant?
Yes, for open profiling and short runs. Air blast or mist clears chips and keeps the edge cool enough.
Deep pockets, blind holes and high-speed roughing are different. Those operations need flood coolant or through-spindle coolant to prevent recutting and built-up edge.
What tolerance can be held on aluminum parts?
We hold ±0.005 mm (±0.0002 in) on aluminum when the geometry and setup allow it. Features that depend on a single setup hold tighter than features that span two operations.
Very thin walls and long unsupported sections are the practical limit. The drawing and the setup decide what is realistic.
How does anodizing change the part dimensions?
Clear anodizing builds a few micrometres. Hardcoat anodizing can build 25 to 50 μm and grows outward as well as inward.
For a bore or a shaft with a tight fit, tell us the finish before machining. We leave stock so the coated part lands in tolerance.
How do you handle small aluminum runs and prototypes?
There is no minimum order quantity. We machine from one prototype up to runs of 10,000+ parts.
For prototypes, a 3-axis or 4-axis setup is often enough. Five-axis is worth it when the part has features on several faces or needs to stay concentric.
Send us your aluminum part and get a process review
We quote and return a free DFM analysis within 12 hours, with 100% inspection before shipment.
12-hour quote100% inspectionNo minimum order quantityNDA on request









