
How CNC Processing Drastically Cut Manufacturing Costs: 10 Secrets
Most of the money in a machined part is spent before the spindle turns. This article is for design engineers, product developers and sourcing engineers who want to know which early decisions in cnc processing drastically cut unit cost, and which ones only move pennies. Ten rules, with the shop-floor reasoning behind each.
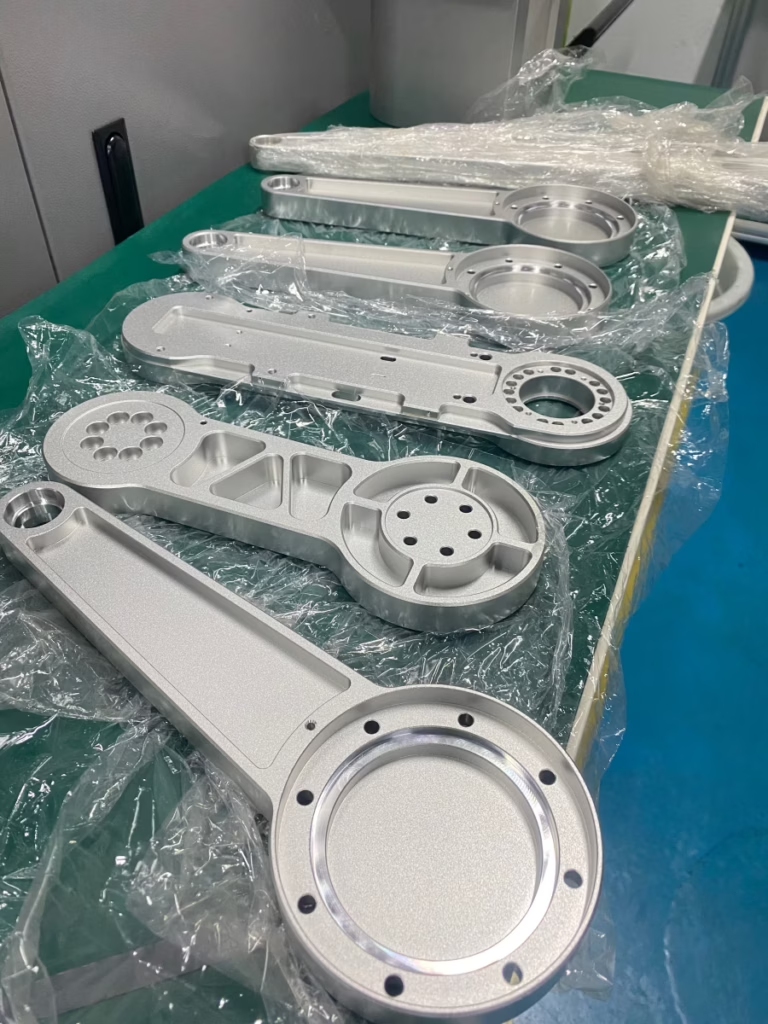
Cost decisions happen in order, not all at once
The ten items below run from CAD to supplier choice. Fix the early ones first: they set the ceiling on what the later ones can save.
Fix the CAD, the setup and the material before anything else
A DFM review is the cheapest operation in the whole job. Thirty minutes with a manufacturing engineer, before you freeze the CAD, can remove features that force long-reach tools, extra fixtures or hand finishing. Deep narrow cavities, sharp internal corners and threads that stop against a shoulder all add machine time without adding function. Change a 2 mm corner radius to 3 mm and the same cutter can clean the whole pocket in one pass.
Ask for the review while the model is still parametric. Once drawings are released and a purchase order exists, every change becomes a revision, and revisions cost engineering hours on both sides. We return a quotation plus free DFM analysis within 12 hours, so the feedback arrives while the design is still open.
The second decision is setup count, not machine type. Every additional clamping adds a fixture, a re-datum, an alignment step and a chance for stack-up error. A part that needs four sides machined might take four 3-axis setups or one 5-axis setup. The 5-axis machine hour rate is higher, but the total per part usually drops once two or three setups disappear. For housings, brackets and impeller-like geometry, specifying simultaneous 5-axis from the start is a cost strategy, not a luxury.
Material comes third. The strongest alloy is rarely the cheapest part. Titanium and Inconel cut slowly, wear tools and often need more finishing passes. If the load case does not demand them, 6061-T6 or 17-4PH will usually give you the strength you need at a fraction of the cycle time. Choose the material the function requires, then let the shop choose the grade within that family.
- 1Corner radiiMatch them to a standard cutter diameter so the pocket can be milled without a tool change.
- 2Pocket depthKeep depth under 4× the cutter diameter to avoid long-reach tool deflection.
- 3Setup countCount the faces you need to machine. Each one is a potential re-clamping.
- 4Material gradePick the family from the load case, then the cheapest grade inside it.
Spend tolerance and prototyping budget where it changes the part
Tolerance is the single most abused line on a drawing. A blanket ±0.005 mm note across every dimension forces the shop to slow down, add inspection steps and scrap more parts. Most of those dimensions do not need it. A mounting hole pattern may need a tight position tolerance; the outer profile that sits in free air does not. Mark the fits, the sealing surfaces and the bearing bores, and leave everything else at the general tolerance block.
This is also where you should decide the inspection plan. If a dimension is not measured, it should not be tightly toleranced. We inspect 100% before shipment and can supply reports on request, but a drawing with twenty critical dimensions means twenty measurements per part, and that time is in the price. Trim the list to the ones the assembly actually depends on.
Rapid prototyping is the next lever. Cutting a hard tool or committing to a die casting mold before the geometry is proven is how programs lose their budget. Machine a prototype, assemble it, test it, then change the CAD. One revision before tooling is far cheaper than one revision after. For metal parts, 3-axis and 5-axis milling of a prototype in the final alloy also tells you things a plastic mock-up cannot: chip behavior, thin-wall deflection, thread quality.
Part consolidation follows the same logic. If three brackets bolt together and always move as one unit, machine them as one component. You remove fasteners, assembly labor, joint tolerance stack-up and the fixtures that made the three separate parts in the first place. The trade-off is a more complex single part, so check that the consolidated geometry is still reachable by the tool. If it is not, keep the split.
- 1Tolerance mapTight only on fits, bores and sealing faces; general block elsewhere.
- 2Inspection costEvery toleranced dimension becomes a measurement on every part.
- 3Prototype firstProve geometry in the real alloy before cutting hard tooling.
- 4Consolidation limitMerge parts only if the merged shape stays machinable.
Batch size, finish, toolpath and the supplier you pick
Batch quantity is a scheduling question as much as a price question. Small lots amortize setup over few parts; very large lots tie up capacity and inventory. The sweet spot is the range where setup cost per part is already small but you are not paying for storage. For most of our work that sits between a few dozen and a few thousand pieces, and we run from one prototype to 10,000+ part runs with no minimum order quantity, so you can buy the batch the schedule needs rather than the batch a price break forces on you.
Surface finish is the next place money hides. An as-machined Ra 1.6–3.2 μm surface is included in the cycle. Ra 0.8–1.6 μm needs a finishing pass or a controlled step-over. Ra 0.2–0.8 μm means slower feed, lighter cuts and sometimes a separate polishing operation. Specify the fine finish only on the surfaces that seal, slide or carry an optical function. Bead blasting, tumbling or brushing can make the rest look consistent for far less than machining it to a mirror.
Toolpath strategy matters even when the geometry is fixed. A shop that roughs with a high-feed cutter and finishes with a small step-over will beat one that uses a single tool for everything. Adaptive roughing keeps radial engagement constant, which lets the machine run faster and makes tool life predictable. This is the shop's job, not yours, but it is a fair question to ask when you compare quotes: what is the roughing strategy, and how many tools does the part need?
Finally, who you buy from. A broker takes your drawing, forwards it, and adds a margin without adding a machine. A full-process manufacturer controls the setup, the toolpath, the inspection and the finish under one roof. We run 127 high-precision CNC machines across three wholly-owned plants, including 16 simultaneous 5-axis machining centers, with a maximum processing size of 4,000 mm. That means the DFM advice, the machining and the finishing are the same conversation, and the accountability does not get handed to a third party.
Put together, the ten secrets are not ten separate tricks. They are one habit: decide the expensive things early, and leave the cheap things to the shop.
- 1Batch sweet spotEnough parts to absorb setup, few enough to avoid dead inventory.
- 2Finish by functionFine Ra only on sealing, sliding or optical surfaces.
- 3Toolpath questionAsk about roughing strategy and tool count when comparing quotes.
- 4Direct manufacturerOne roof for setup, machining, inspection and finishing.
Where the saving actually comes from
A rough ranking of the ten items by how much they move unit cost on a typical machined part.
| Decision | Typical impact | When it applies |
|---|---|---|
| DFM review before CAD freeze | High | Every new or revised part |
| Reduce setup count (5-axis) | High | Parts with 3+ machined faces |
| Tolerance discipline | High | Any drawing with blanket tight tolerances |
| Material grade choice | Medium to high | Parts specified in titanium or Inconel by default |
| Part consolidation | Medium | Assemblies of small brackets and spacers |
| Batch size matching schedule | Medium | Repeating production orders |
| Finish selection by function | Medium | Parts with cosmetic or sealing surfaces |
| Toolpath and roughing strategy | Low to medium | Deep pockets, thin walls, hard alloys |
| Prototype before hard tooling | Avoids loss | Any part destined for a mold or die |
| Buying from a manufacturer, not a broker | Low to medium | All orders, compounding over time |
Questions engineers ask before they send a drawing
How tight a tolerance can you actually hold, and what does it cost?
We hold ±0.005 mm (±0.0002 in) on critical features. That is a capability, not a default. Applying it to every dimension on a drawing adds inspection time and slows the cut, so we quote the tight callouts separately.
The practical approach is to tolerance the fits and leave the rest at the general block. If you are unsure which dimensions matter, send the drawing and the assembly context, and we will mark the ones we would tighten.
When is 5-axis worth the higher machine rate?
When the part has three or more faces to machine, or features at compound angles that would need special fixturing on a 3-axis machine. Eliminating two or three setups usually more than covers the rate difference.
It is not worth it for a flat plate with holes on one face. A 3-axis machine with a simple vise will be faster and cheaper there.
Can I order just one prototype, and does the price punish me for it?
Yes, we have no minimum order quantity and run from one prototype to 10,000+ part runs. A single part carries the full setup, so the unit price looks high next to a production run.
If the design is still moving, that setup is the cheapest money you will spend. Fixing a geometry error after hard tooling exists costs far more than the setup you saved.
What surface finish should I put on the drawing?
Start from function. Sealing and sliding surfaces may need Ra 0.8–1.6 μm or finer. Cosmetic covers usually look fine at as-machined Ra 1.6–3.2 μm after bead blasting or tumbling.
If you specify a fine finish everywhere, the shop has to treat the whole part as a precision surface. That is cycle time you may not need.
How do you handle confidential designs?
Uploads are secure and confidential, and we sign an NDA on request. We hold ISO 27001:2022 for information security, alongside ISO 9001:2015, IATF 16949:2016 and ISO 13485:2016.
If your program requires it, tell us at the quotation stage so the paperwork is in place before drawings move.
What lead time should I plan for?
Quotation and free DFM analysis come back within 12 hours. Production can start within 24 hours of approval, and parts typically ship in 3–5 days. Historical late-delivery probability is below 2%.
For a first article on a complex 5-axis part, add time for the DFM loop. It is usually faster than machining a design that has to be reworked.
Send the drawing and get the cost drivers marked
We review the CAD, flag the features that add machine time, and return a quotation with free DFM analysis within 12 hours.
12-hour quoteFree DFM analysis100% inspectionNo MOQ









